Using and to Generate a Personal Website or ePortfolio
Sakeef M. Karim
Consortium on Analytics for Data-Driven Decision-Making
Preliminaries
This tutorial is designed to give you a lay of the land.1 It is not meant to provide a detailed overview of how to use GitHub or fully customize your ePortfolio. To follow along, you’ll need RStudio, a GitHub account and a Netlify account (click the tabs below for more information).
If you want more information about GitHub and versioning, take a look at the slide deck hyperlinked here. In the sections below, I’ll walk through an example of how you can easily use RStudio and GitHub to design or iterate your ePortfolio. You won’t even need to use any command-line shells or packages.2
Netlify and GitHub Pages can both work as site hosting platforms. To simplify matters greatly, these platforms help you deploy your website—or launch it into the world wide web—after you’re done making revisions.
In the spirit of simplicity, this short tutorial will show you how to use Netlify to create a website or ePortfolio. That said, if you really want a site that ends with github.io, feel free to go through the following step-by-step overview of how to generate a site via GitHub Pages.
Choose a Theme, Connect to , Deploy Away
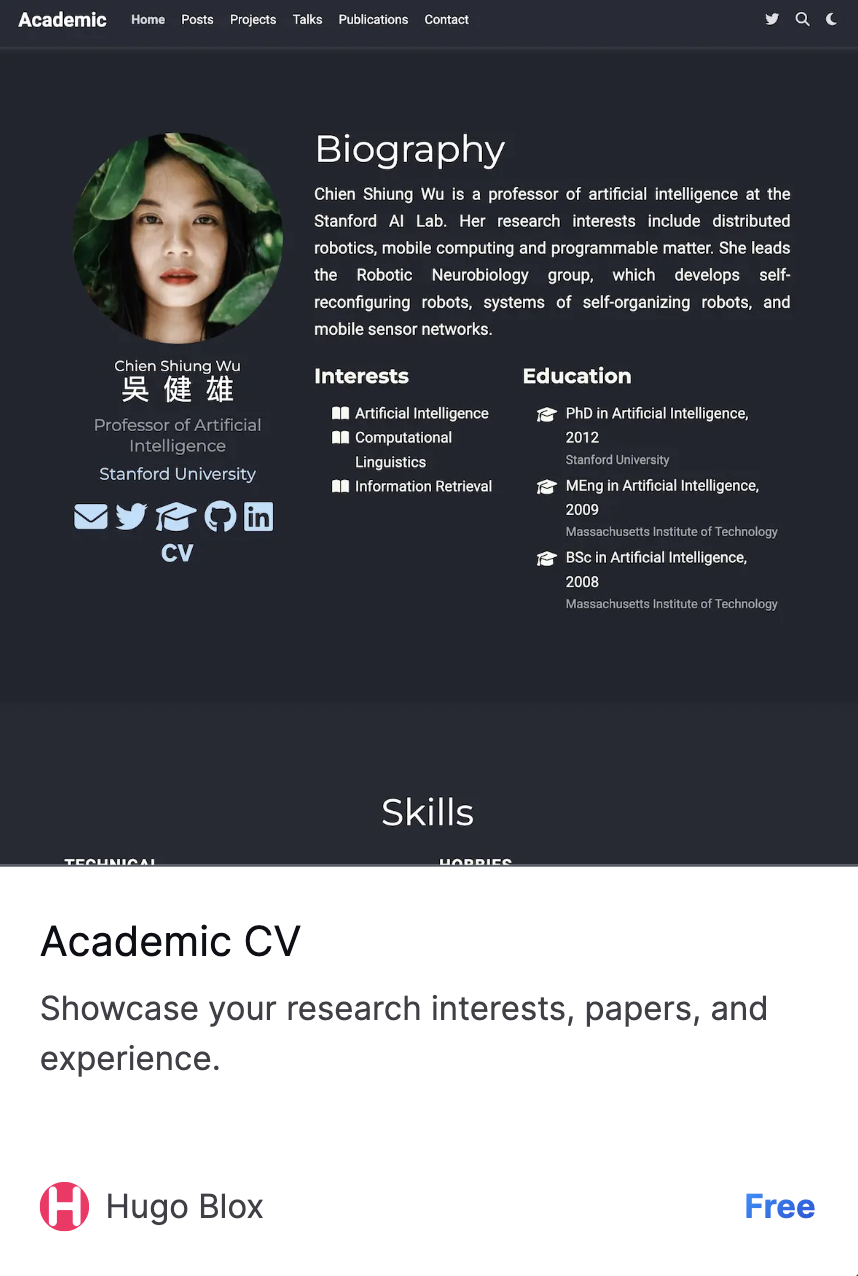
I used Hugo Apéro to produce my personal website. In this short tutorial, we’ll generate a dummy ePortfolio based on the popular Hugo Academic CV Theme.
Note
If you’re more of a Jekyll person, scroll through the gallery here
Update
Ahh, the passage of time. This tutorial was originally designed in December of 2022. Quite a few things have changed since then, but the steps detailed in this document can still be followed—and executed—to generate an ePortfolio in about 10 minutes.
Now, instead of immediately arriving at the Netlify page you see on your left, you’ll first have to click this button:
You can blow up this image by clicking here.
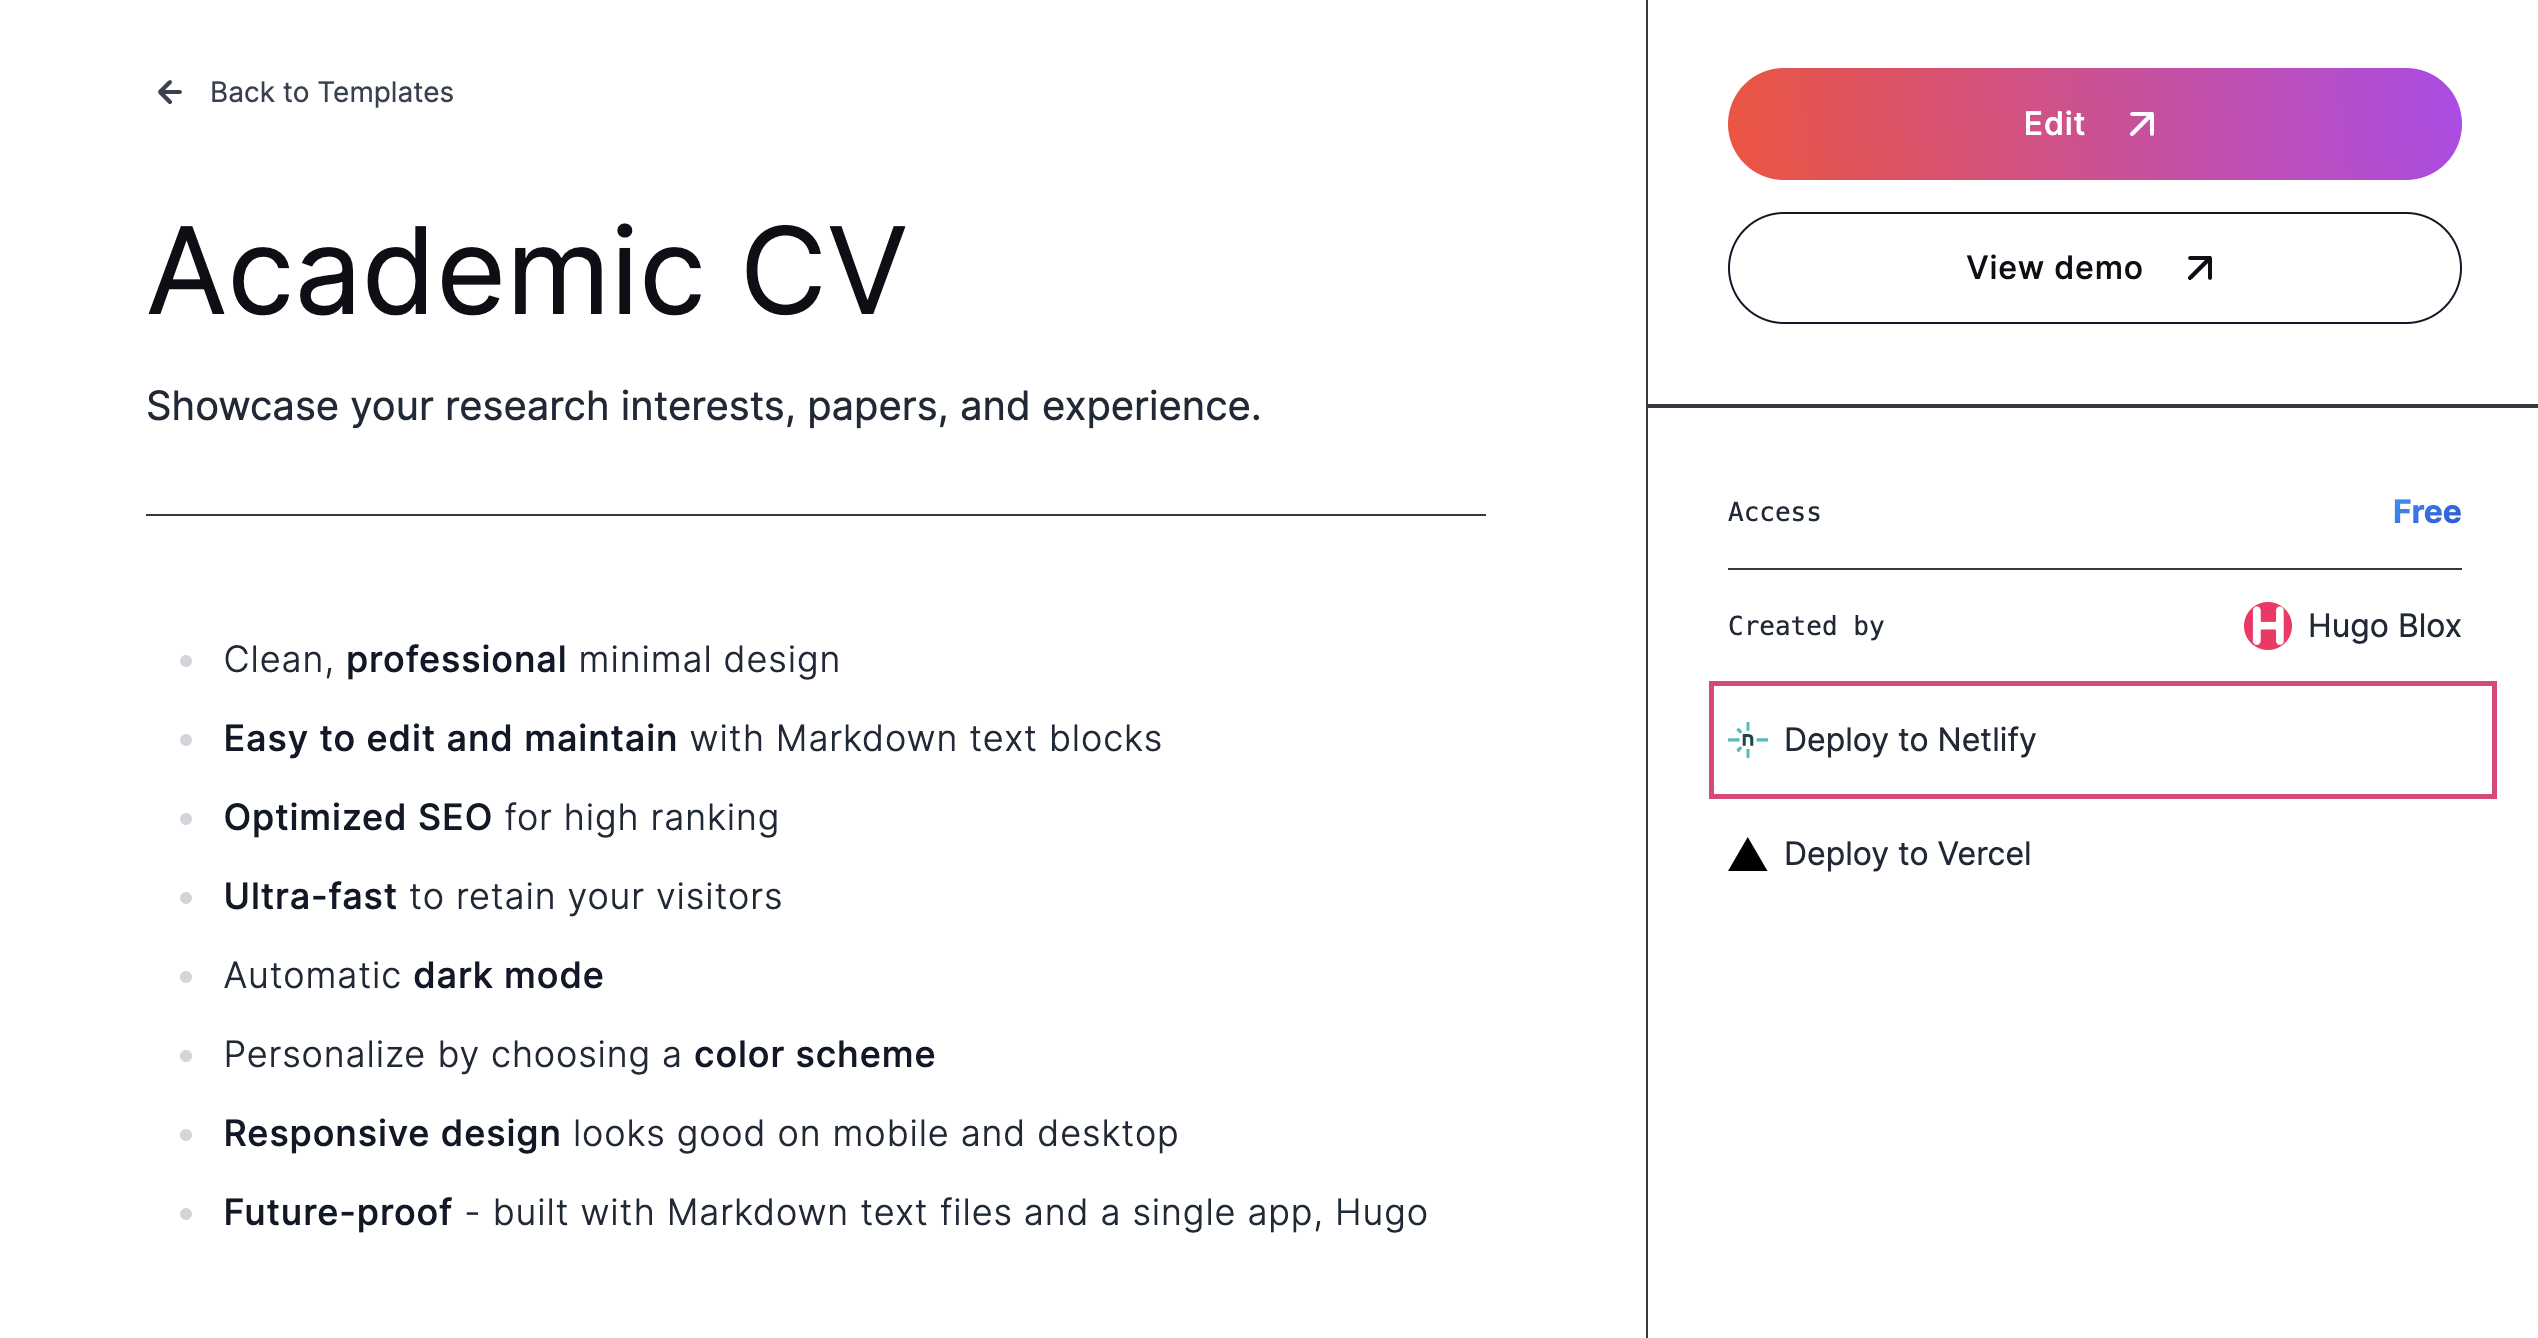
Go to the Wowchemy Templates page by clicking here.
Hover over and click Academic CV.
- Arrive at the corresponding page on Netlify (see below).
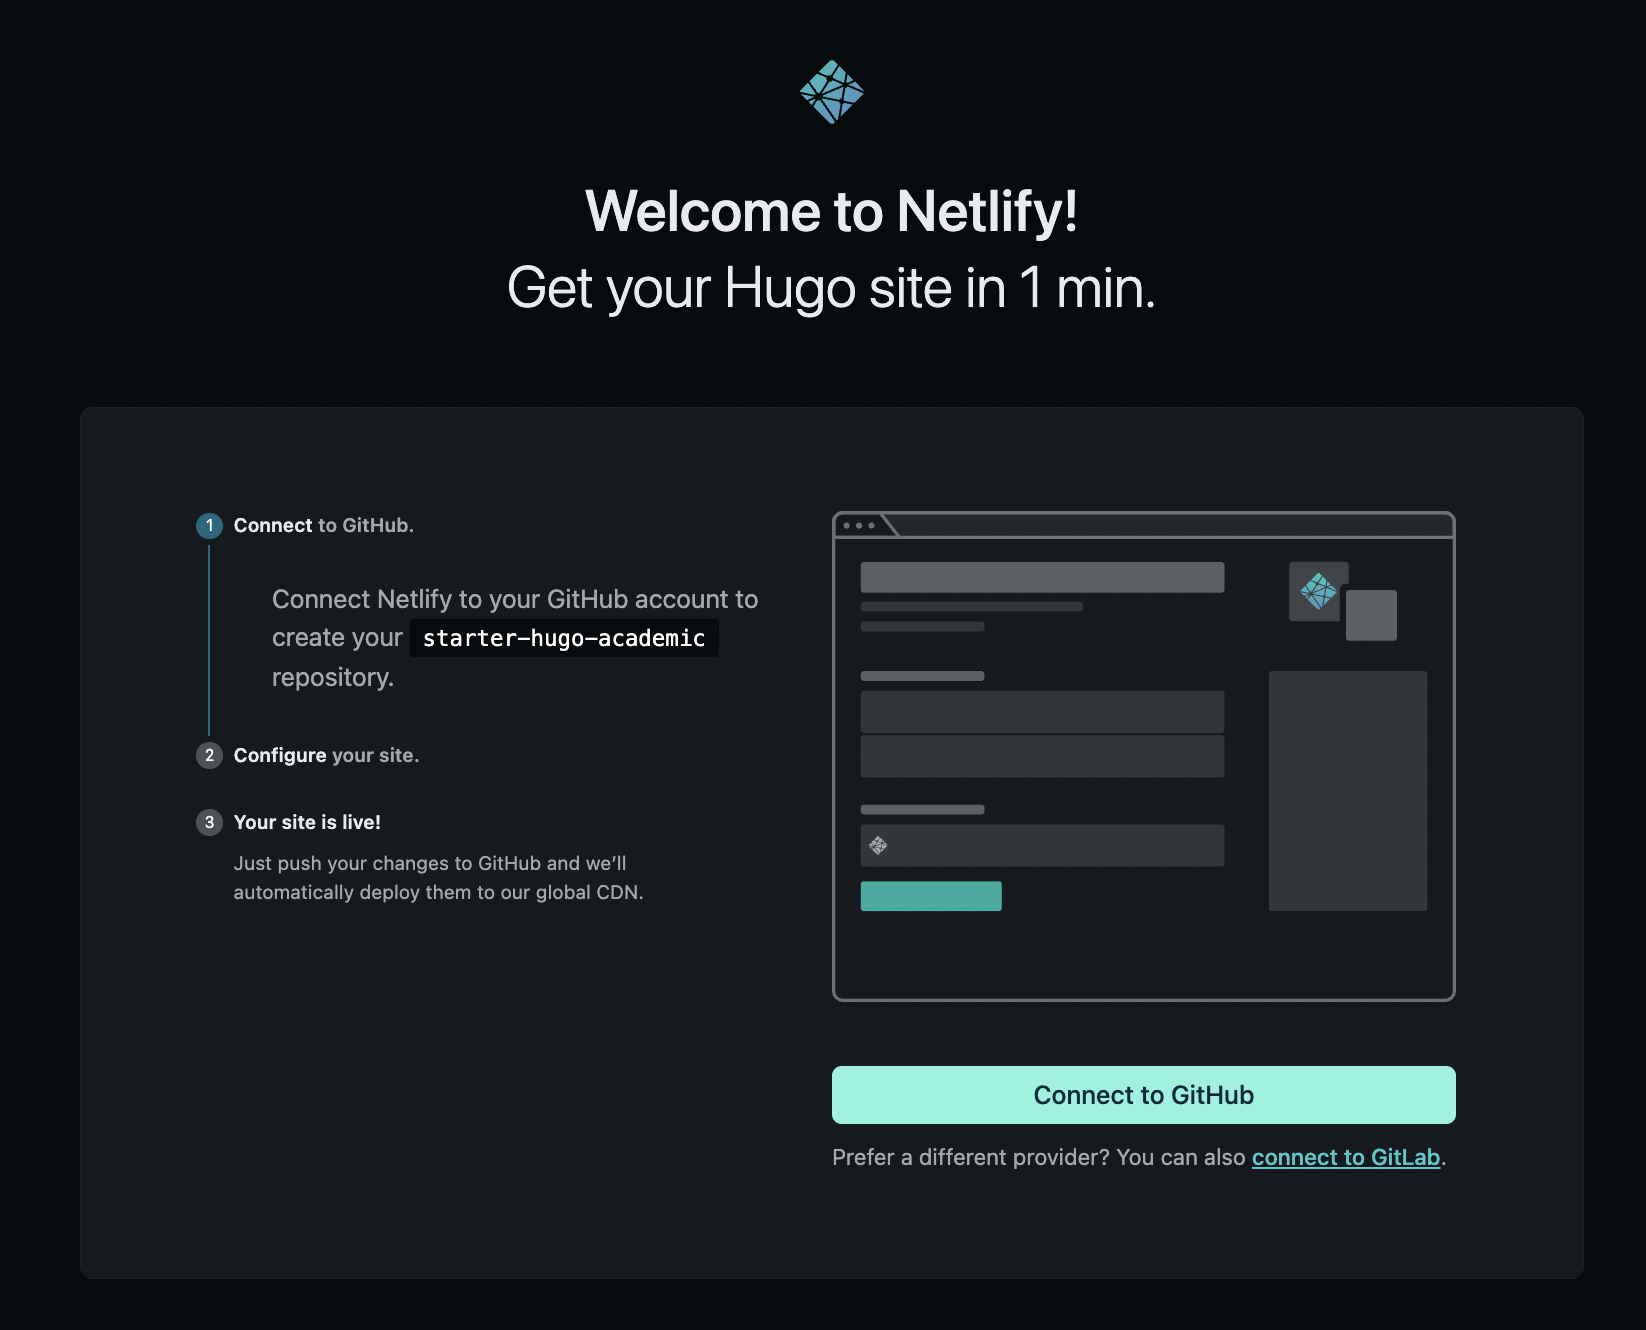
Then, click Connect to GitHub.
- Choose a name for the GitHub repository associated with your site or ePortfolio. I went with
dummy-websitefor no specific reason.
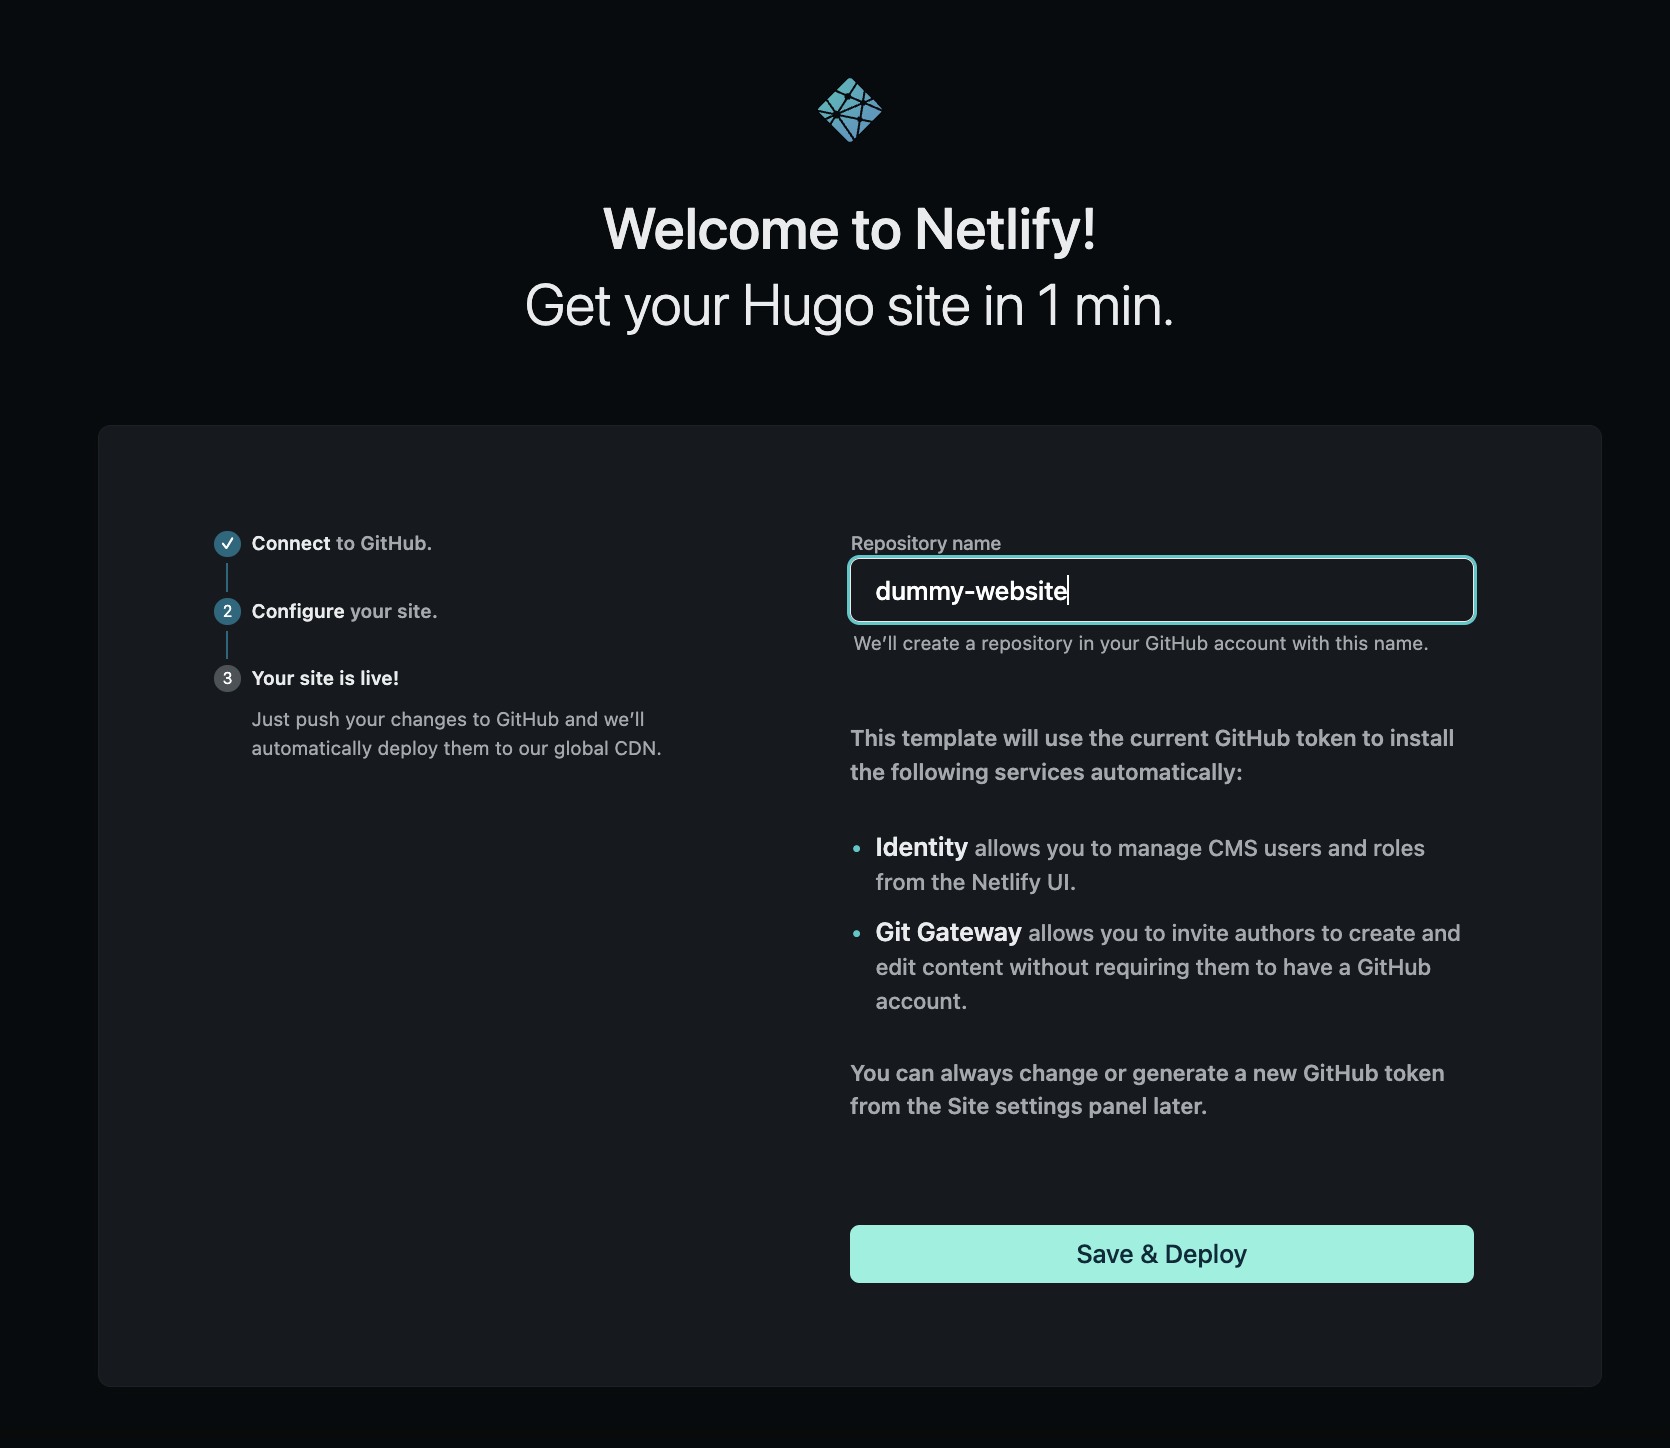
- Click Save and Deploy when you’re ready. After doing so, you should arrive at a Site Overview page where your ePortfolio is being built from scratch. Once it’s been deployed, you’ll see a page like this:
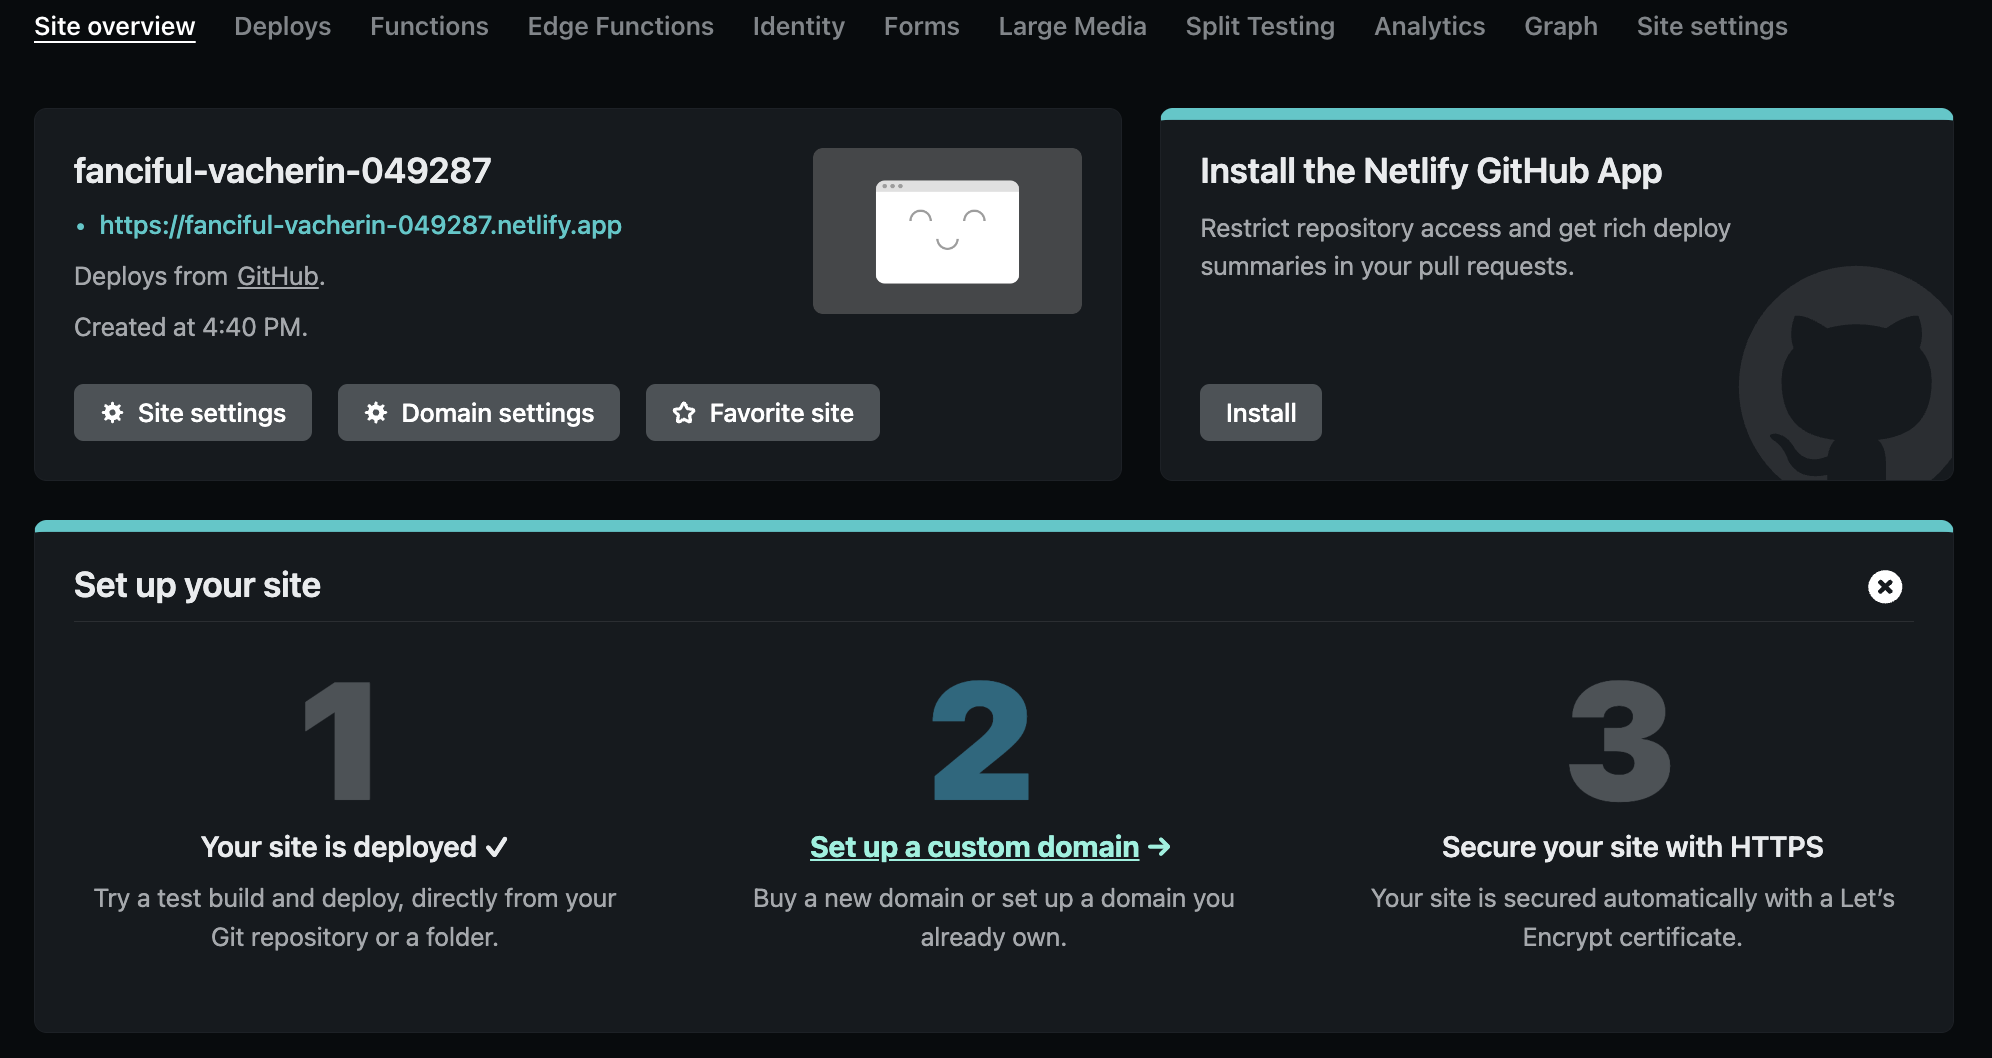
Note
We’ll discuss how to change your site name in a second. A video summary of how to execute the steps detailed above can be found by scrolling .
Create a New Project in RStudio
We now have a primitive website that’s on the web. Of course, we’ll need to heavily modify the site in question before we’re ready to go live.
How can we start making these modifications? RStudio offers a simple way to leverage the power of Hugo and GitHub. Let’s go through the steps.
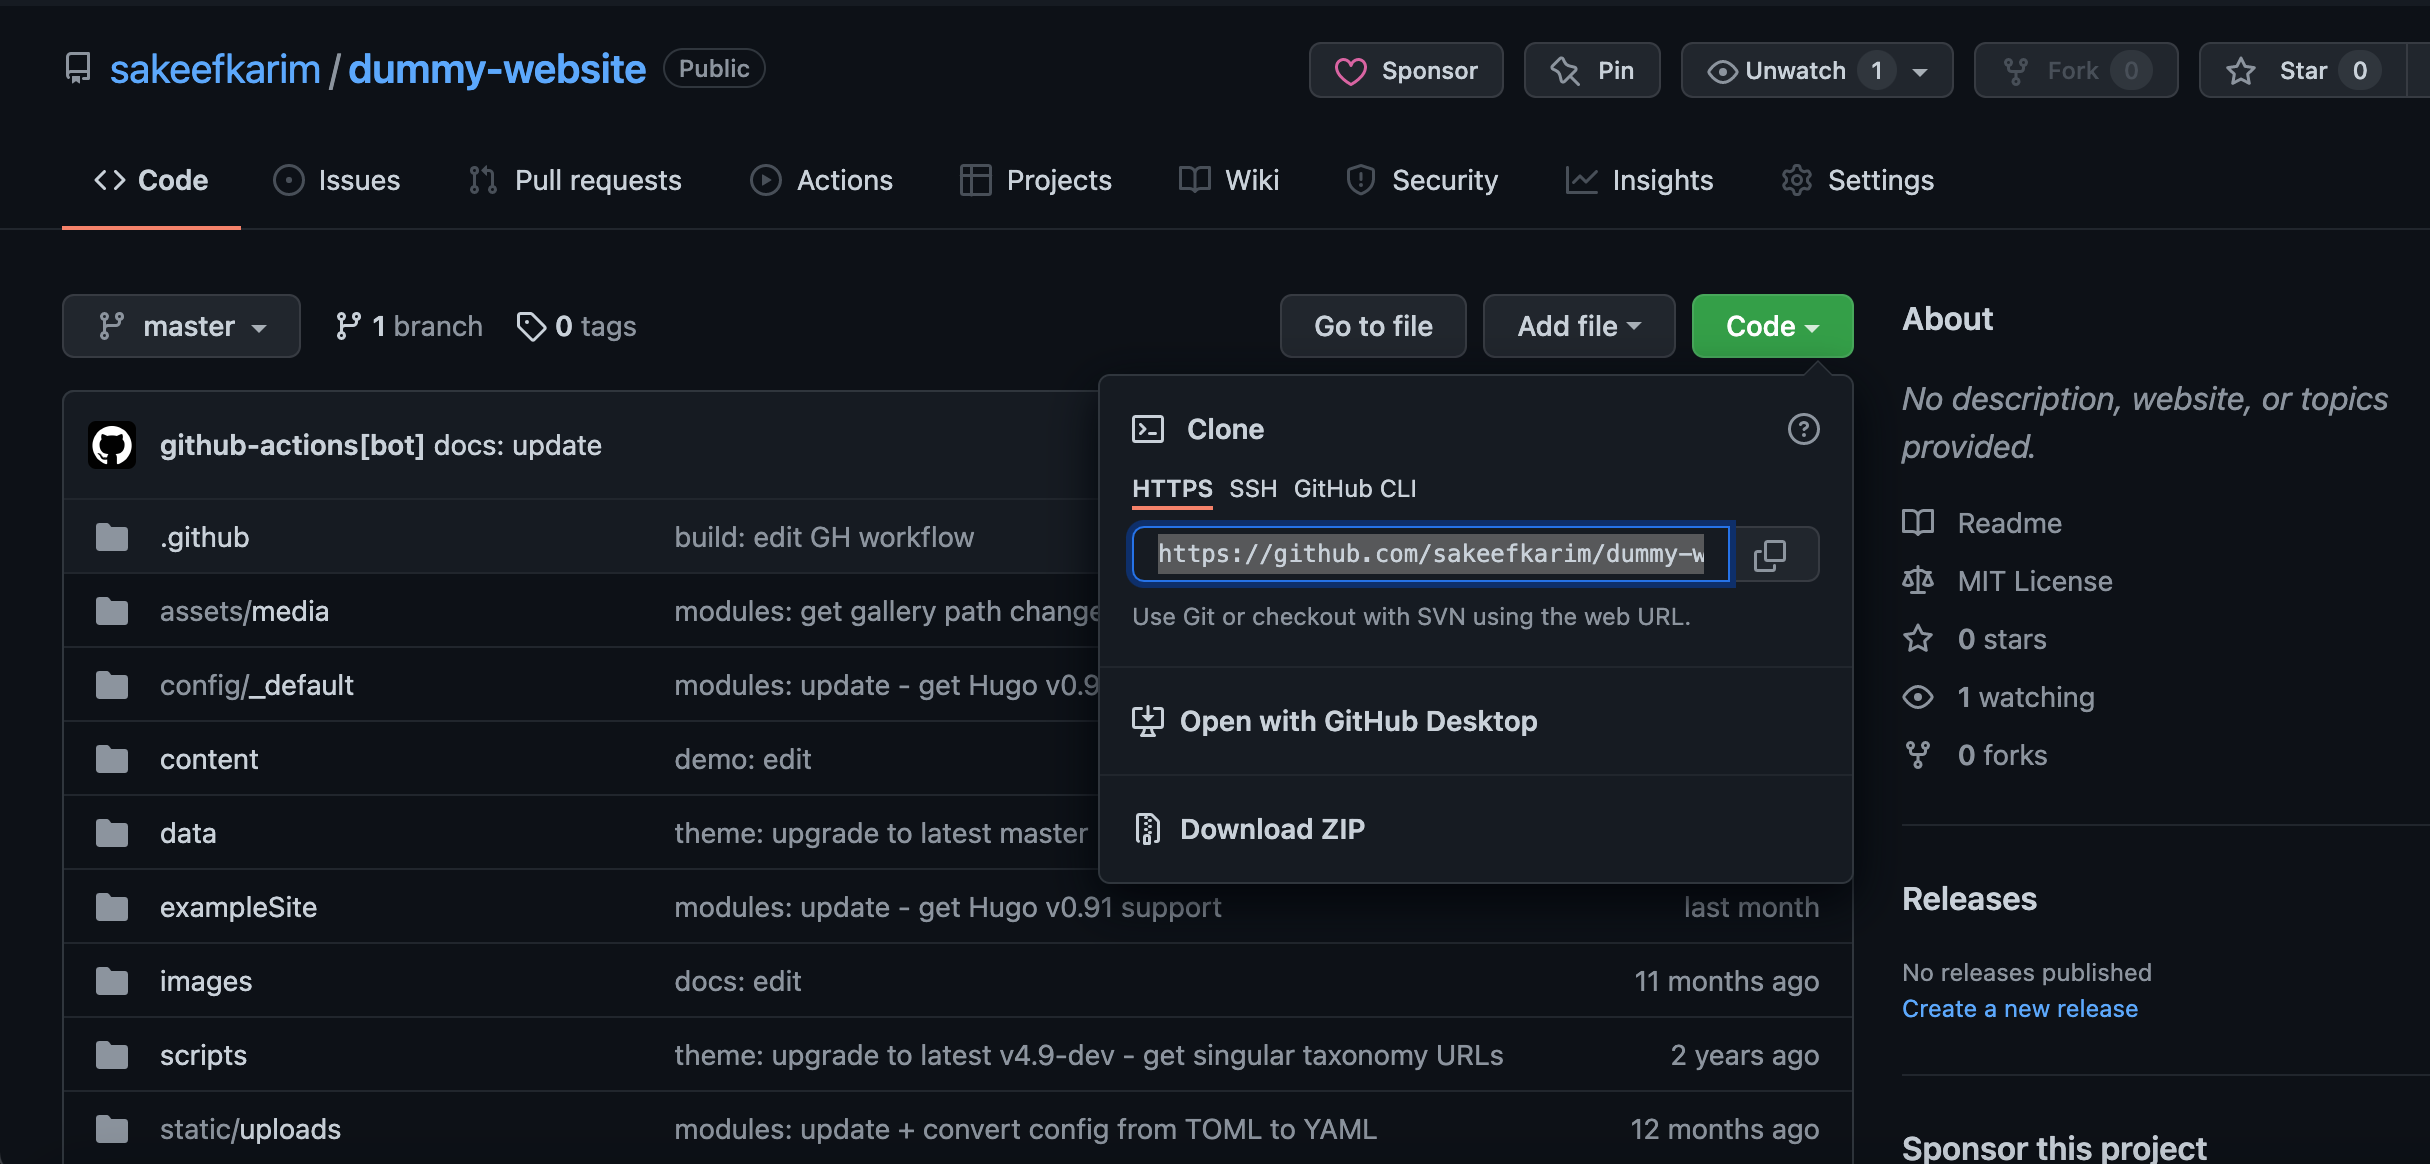
- Find your website repository on GitHub. Then, click the green Code button and copy the link under
HTTPS(see the image below).
- Go to RStudio. Create a new Project from Version Control.
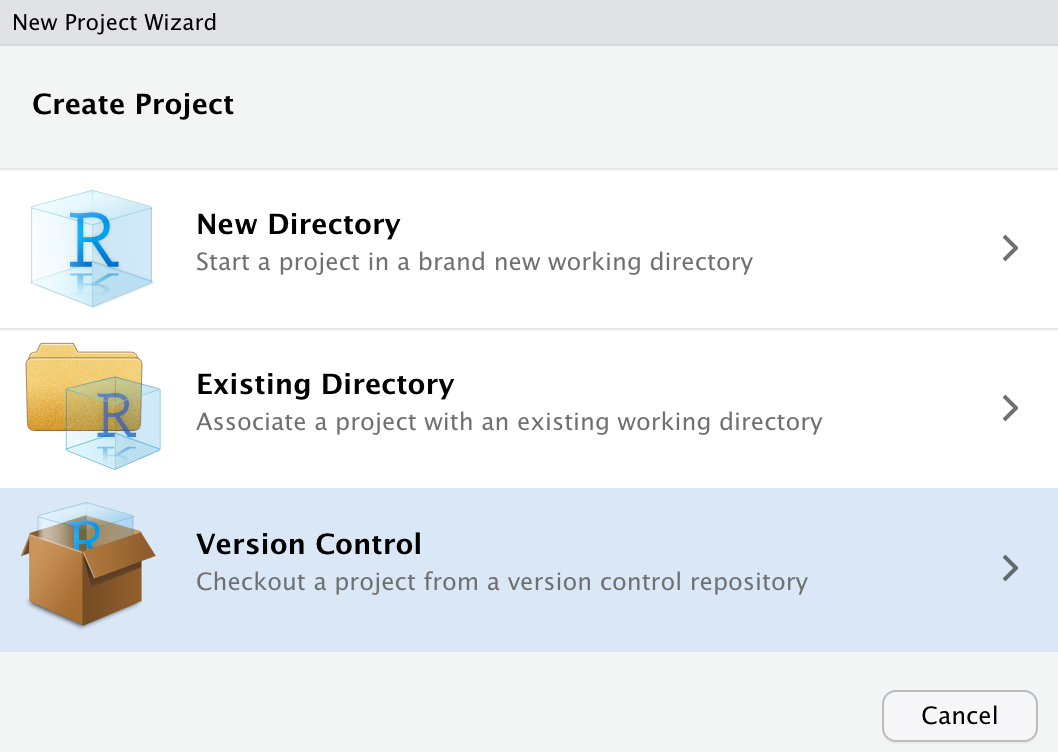
- Click Clone a Project from a Git Repository.
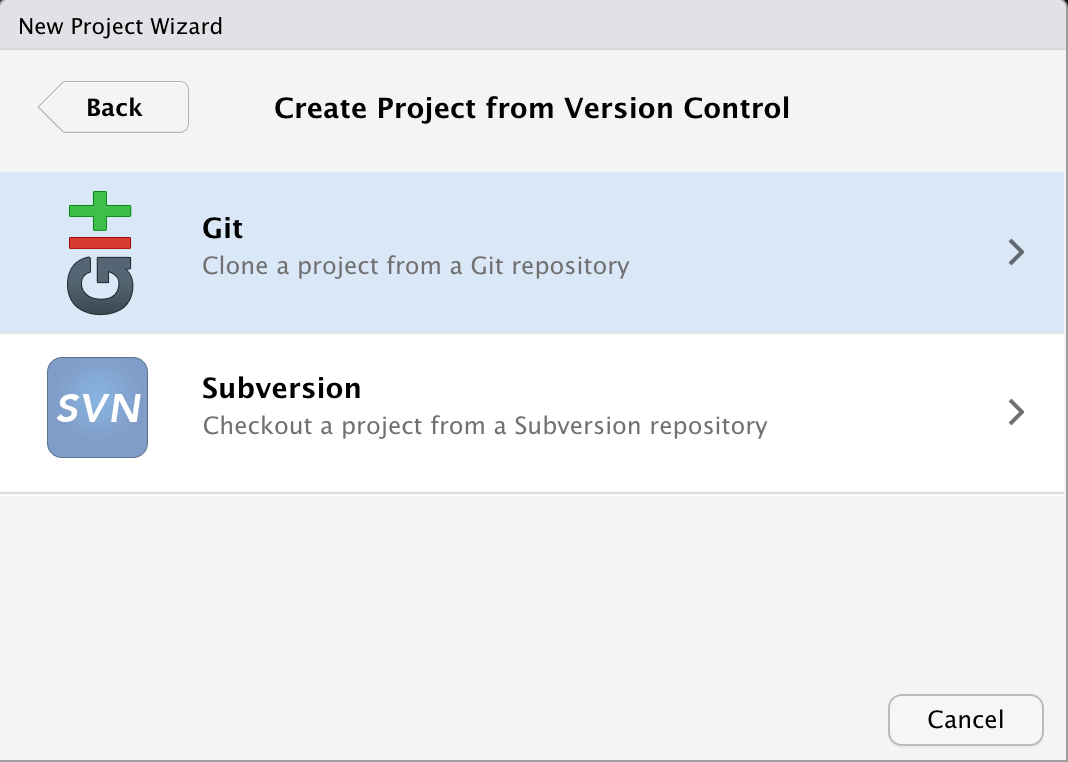
- Enter the
URLthat you copied from GitHub (remember that green button?). That’s it — you’ve officially cloned a repository! More importantly, you now have a local version of your website repo, inclusive of all the relevant folders and files. Put another way, you can start to make some modifications!
Note
For a video summary of how to execute the steps detailed above, scroll .
Making Edits
You can now make wholesale changes. The exact changes you make (or don’t make) will depend entirely on how you want to structure your ePortfolio. There are a universe of possibilities, so we’ll only be covering the absolute basics.
Specifically, we’ll discuss:
How to remove the Wowchemy hero block that accompanies every newly deployed site (produced via the Hugo Academic Theme).
Change the name/institutional affiliation/role at the top of your website from Chien Shiung Wu, Chief Scientist and OpenAI to: your name/your institutional affiliation/your role.
Push the changes you’ve made to your remote GitHub repository.
Update
Remember how I said things change with time? As of January 2024, the frustrating Wowchemy hero block is no longer visible when you deploy your Hugo Academic website for the first time.
Concretely, this means you can skip ahead to Step 3 to begin making some rudimentary changes to your personal website.
- Using RStudio, navigate to—and then open—the following Markdown file:
content/_index.md(located in the same folder as your new R Project).
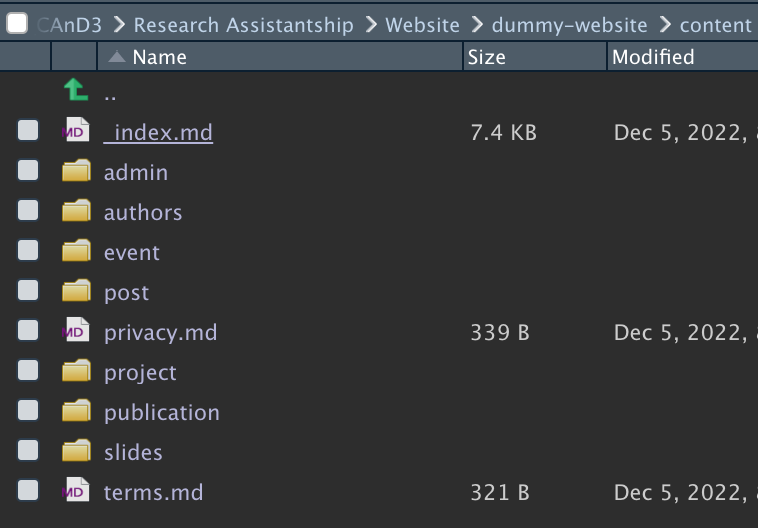
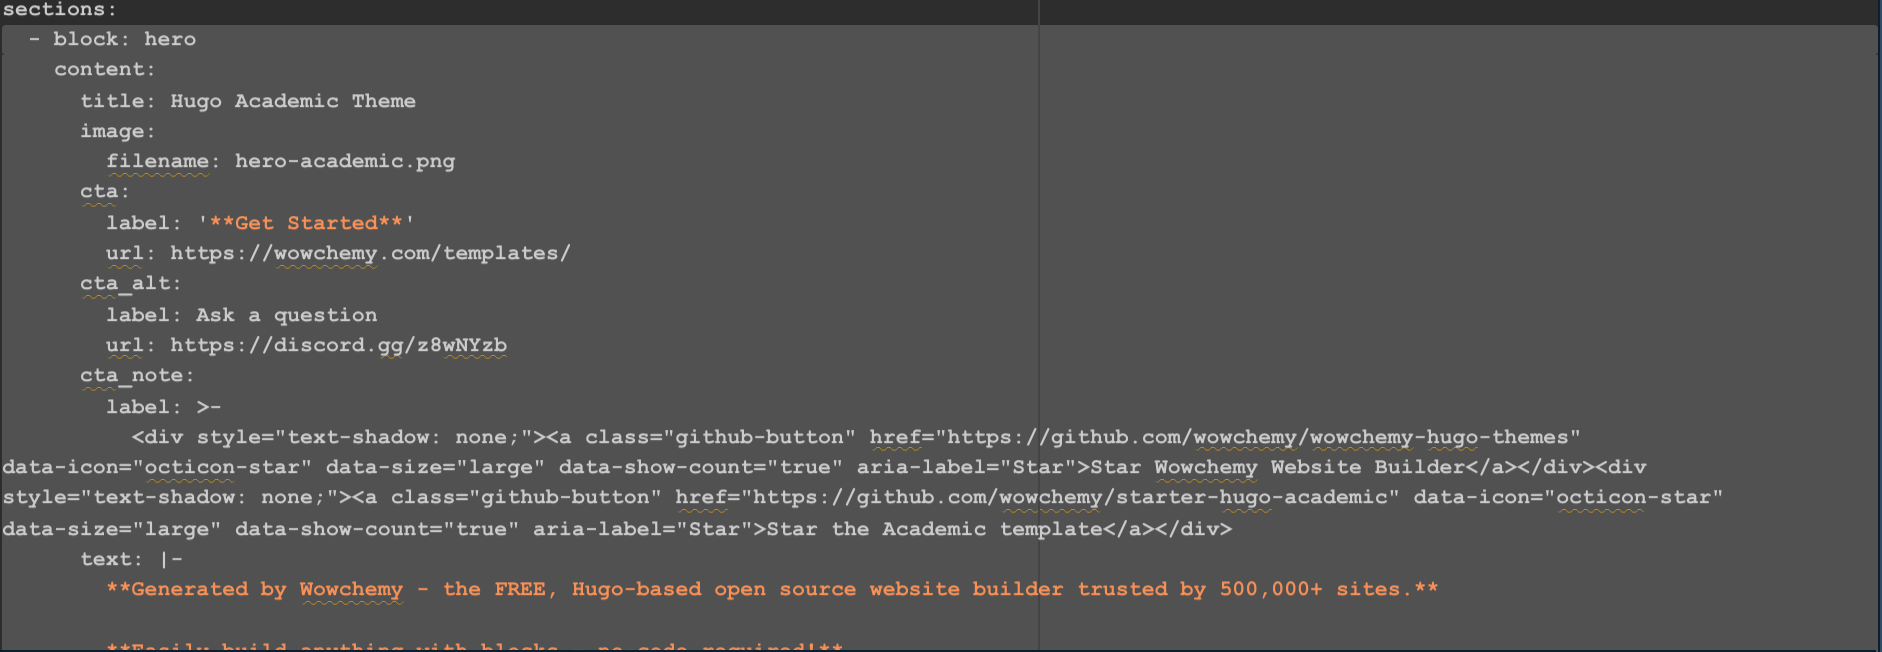
- Delete the first (i.e., hero) section before saving the
_index.mddocument.
- Then, navigate to—and open—
content/authors/admin/_index.md.
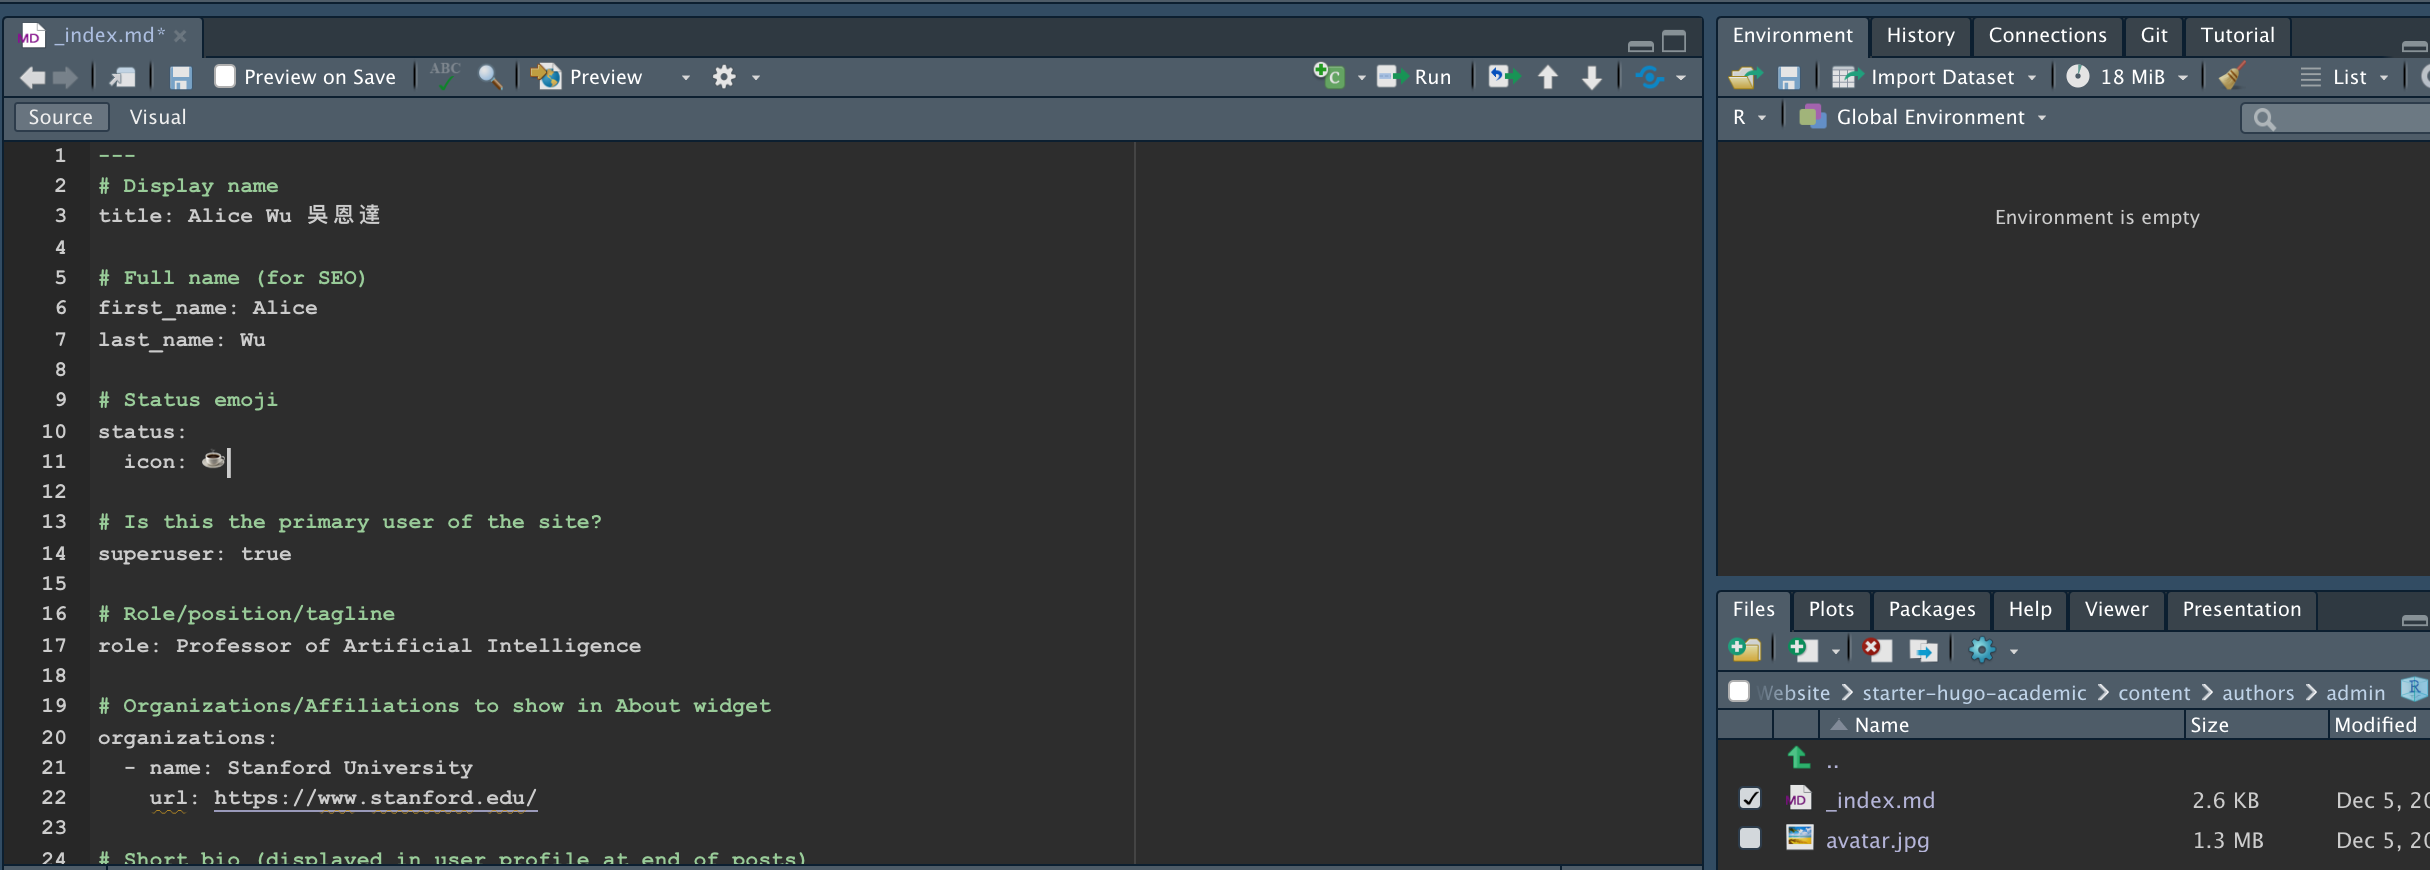
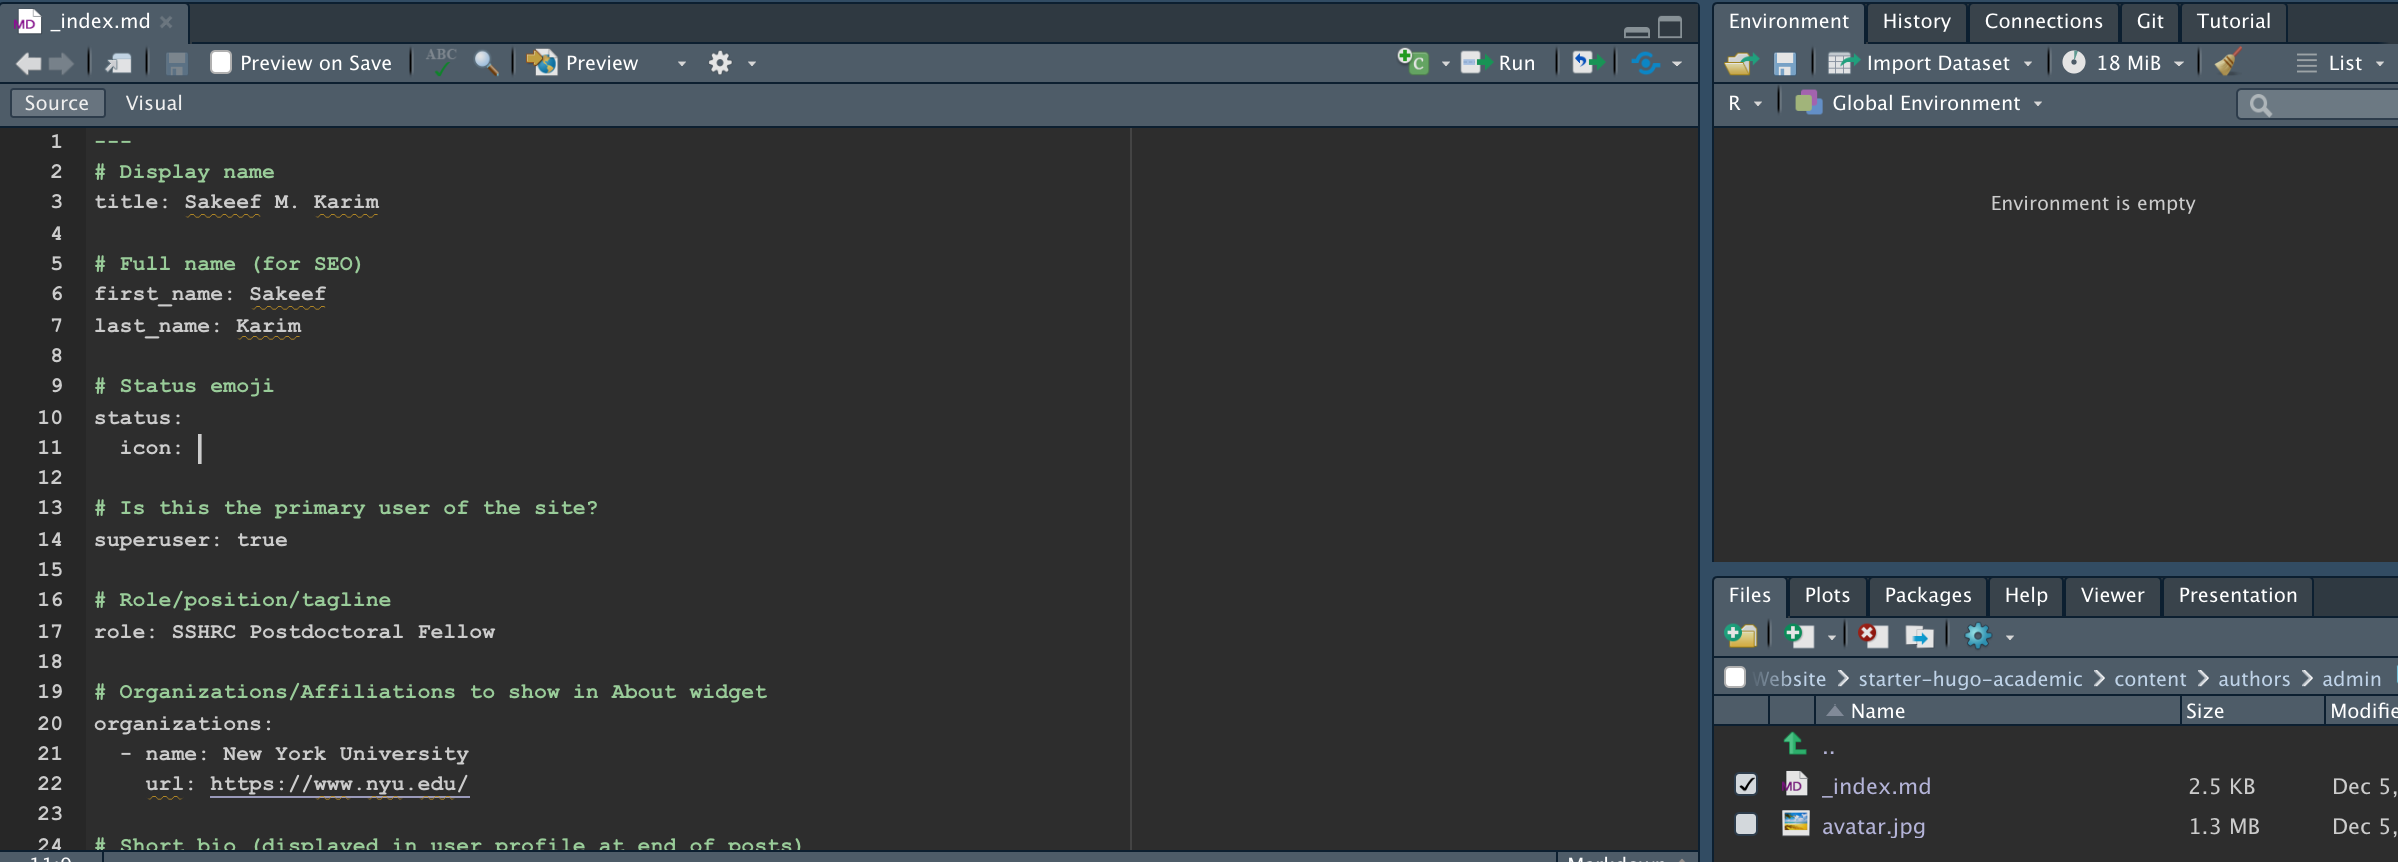
- Edit
content/authors/admin/_index.mdas follows: changetitlefrom 吳健雄 to your name; changerolefrom Chief Scientist to your current title; and change your organizationnameto your institutional affiliation (e.g., Amherst College). Then, simply save the document.
- In RStudio, navigate to the
Gittab. Stage the changes you’ve made by clicking the relevant boxes.

- Click Commit (via the
Gittab). A pop-up window should appear. Write your commit message and then click Commit for a second time (see below).
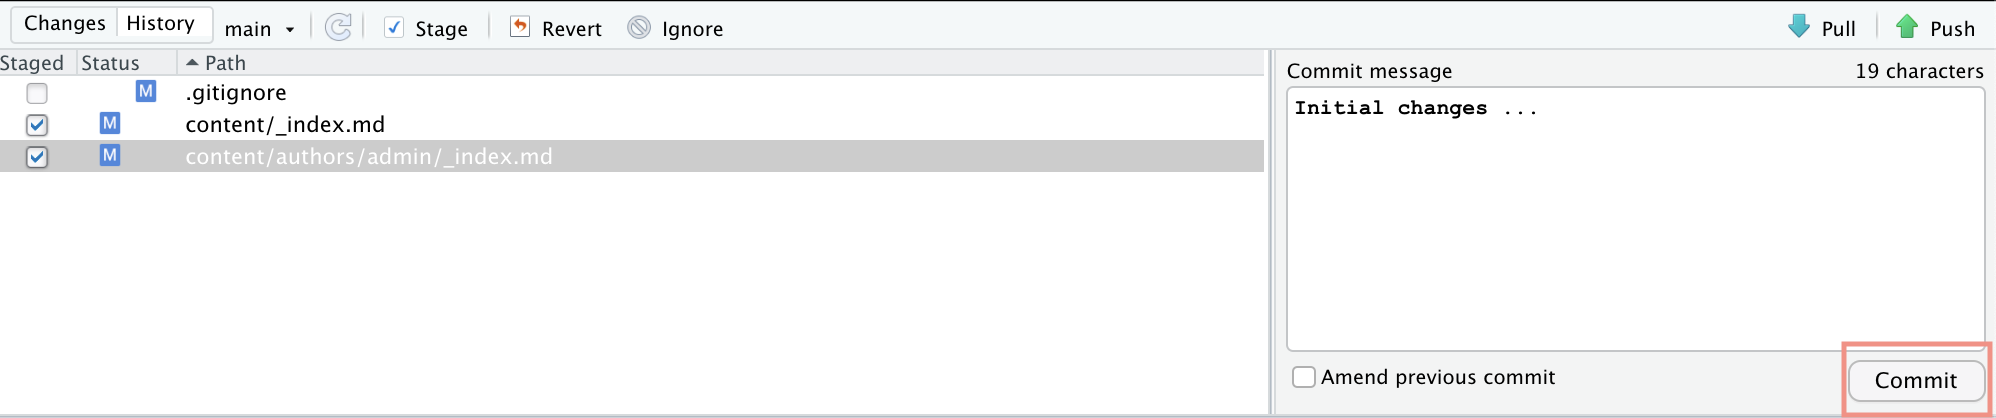
- Push your changes to your remote repository by clicking the Push button (the green upward pointing arrow). Congratulations — you’ve changed your site!

Note
For a video overview of how to execute the steps detailed above, scroll .
Reviewing Changes via Netlify
Once you’ve pushed your changes to your remote GitHub repository, Netlify will automatically re-deploy your website (with the modifications).
This is what my current (dummy) website looks like.3 Obviously, I’ll need to edit many more sections to make this ePortfolio my own.

As a final note, you’ll want to change your website name. To do so, simply go to your General site Settings on Netlify and then click Change site name.
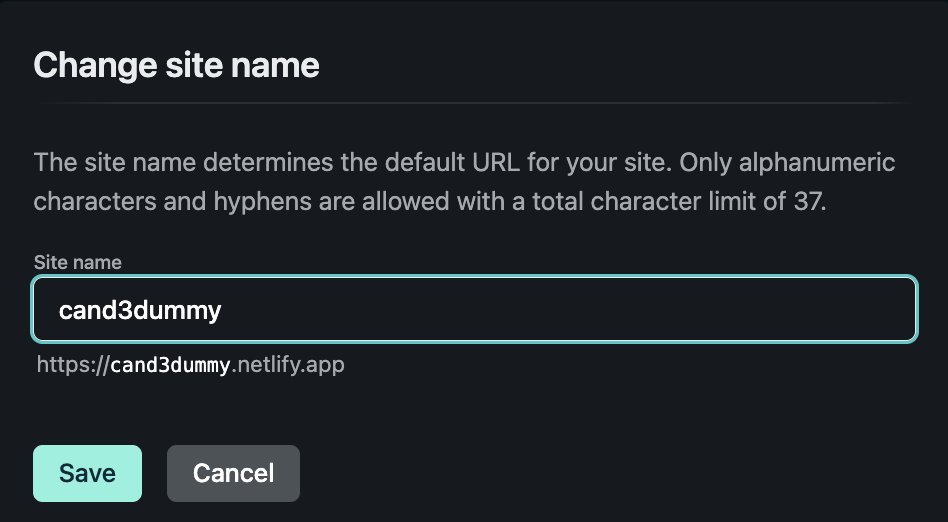
You can find my dummy site by heading to cand3dummy.netlify.app.
Extra: Domain Names
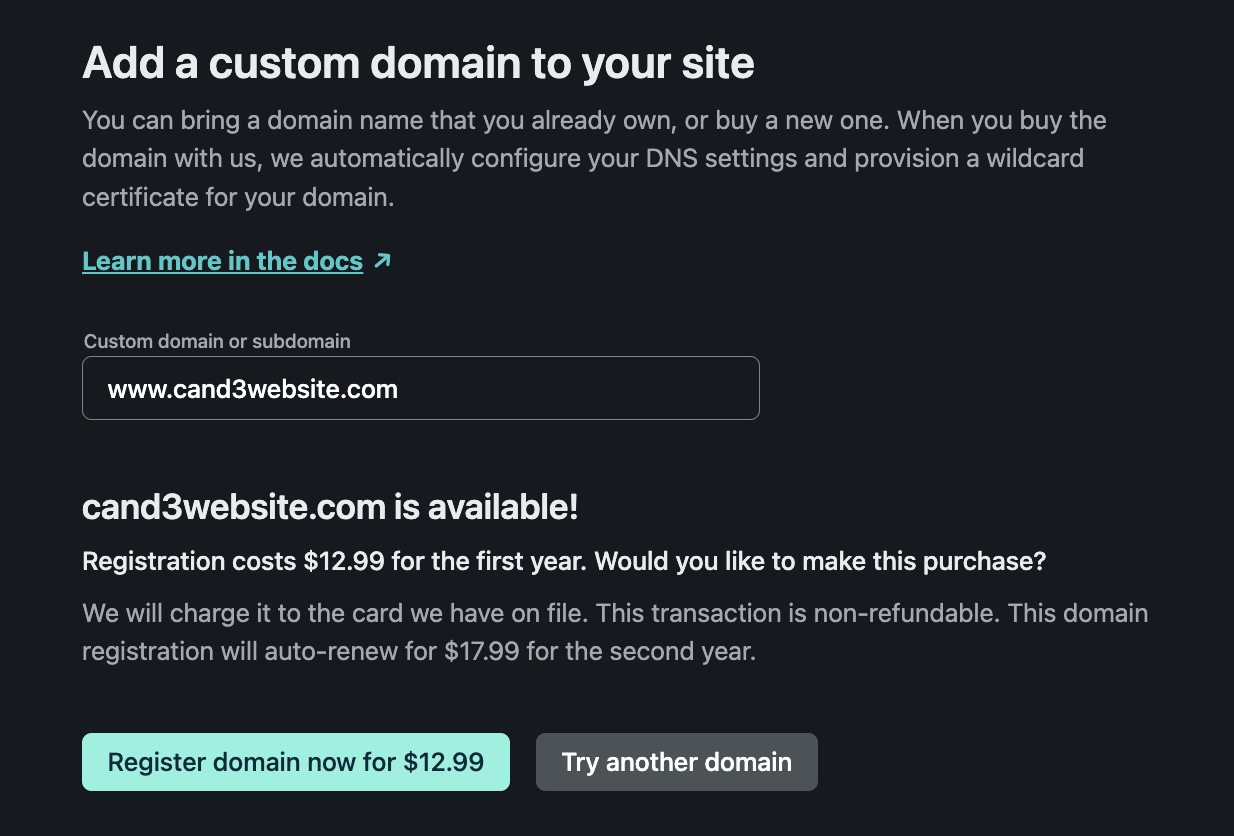
What if you want your own domain name? Go to Domain management (via your Netlify site settings). Under Custom domains, click the Add custom domain button.
You’ll arrive at the Add a custom domain to your site page. Check to see if the domain name you’re yearning for is available. If it is, you can purchase it through Netlify!
Footnotes
For those of you who haven’t used Hugo, Jekyll or other static site generators.↩︎
That said,
blogdown::serve_site()may be a useful way to preview changes to your site locally before they’re published online.↩︎I updated my avatar by including a personal
avatar.pngfile within thecontent/authors/admin/folder. I also edited the short biography statement withincontent/authors/admin/_index.md.↩︎